As an expert speaker, both event organisers and speaker bookers look at my online presence as a way of determining my online reach and authority. Whilst at first they will look at how I engage with my audience, and how many followers I have, but they will also look at whether I am “verified”.
This has been a long time coming, but finally; I have the blue tick next to my Twitter handle. As of eight months ago, Twitter changed the way people could become verified. It used to be almost impossible to become verified unless you were an A-list celebrity, but now any kind of influencer (big or small) have the chance to become verified however; it’s still just as difficult.
Even though Twitter are accepting verification requests, they are still as vigilant as ever when it comes to handing out that blue tick.
I wanted to share with you the process I went through to become verified, and a few tips on how to get verified as a speaker on Twitter.
Step 1
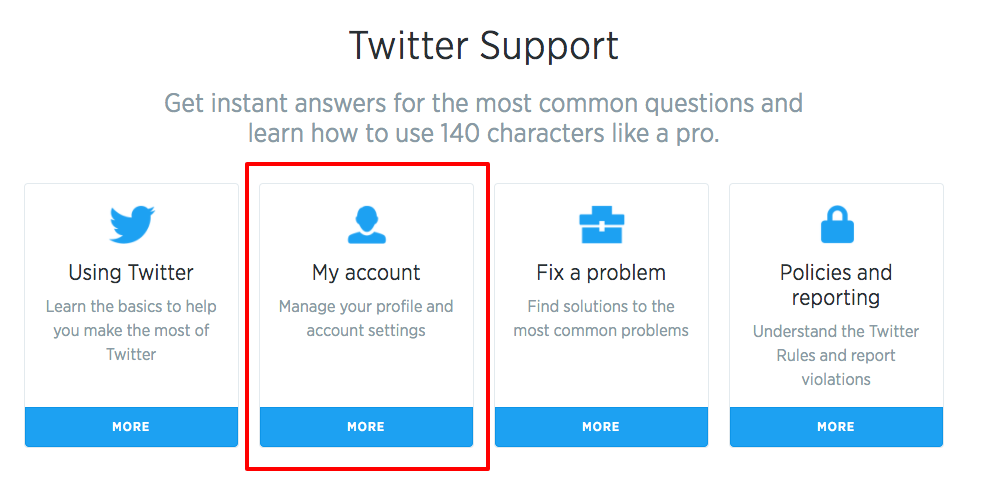
Log-in to your Twitter account, and go to the “help” section and click on “my account”.
Step 2
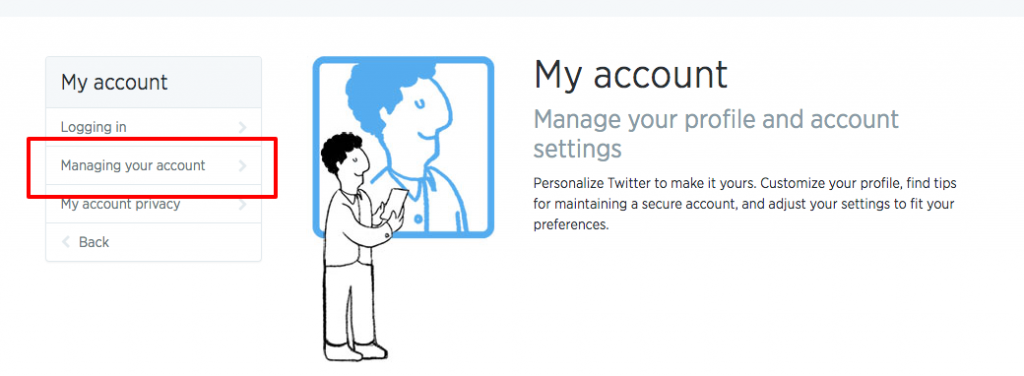
Click on the “managing my account” option on the left hand side.
Step 3
Click on the section that says “verified accounts” and then select the “request to verify an account”.
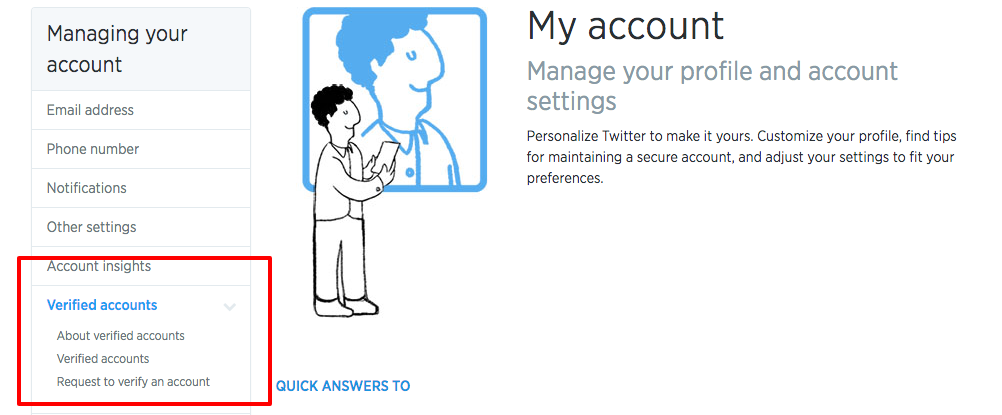
Step 4
The next page you will see contains information about the verification process. Here is what you will need on on your Twitter account:
- Phone number
- Email Address
- A bio, profile picture and header photo.
- A birthday
- Website URL
- Tweets set as “public”
If you are a regular Twitter user, you should have all of the above already set up, so let’s move onto step 5.
Step 5
The next section is about profile and account recommendations. When looking at how to get verified as a speaker on Twitter, the name of your Twitter account must reflect YOUR name, and the same for a company if you are looking to verify a company account.
You will also need to make sure that the images you use on your Twitter account reflects your branding, and that your small bio section showcases your expertise clearly.
Step 6
This step is all about understanding the additional information they are asking for. Consider writing answers to the following questions before opening the verification form:
- Why should Twitter verify your account?
- What is the impact that you have as a speaker in your industry?
- What is your mission, and the reasons why you do what you do?
- What industry leading websites are you associated to?
When I was submitting my request, I made sure to note that I am an award-winning entrepreneur, and a thought leader in my industry. I also gave website links to my Warren Knight website, and my Think Digital First website as well as other websites I have contributed to so that I can show my influence.
Step 7
Now it’s time to complete the verification process. After following the above steps, you will see a link to a “form” where you can complete your application. Click on this, and follow the first page then you will see the below.
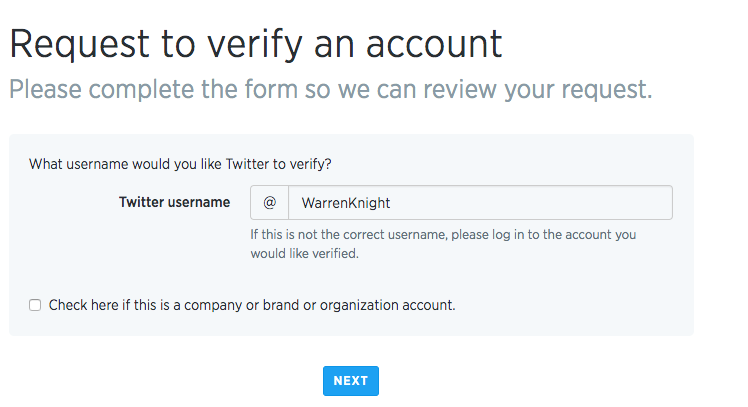
If you are an individual, click “next” but if you are a company, brand or organisation, you may need to go through another step before clicking next.
Step 8
You will then be asked to provide two or more websites and a breakdown of why you should be verified. After following step 6, you should already have this content ready to use.
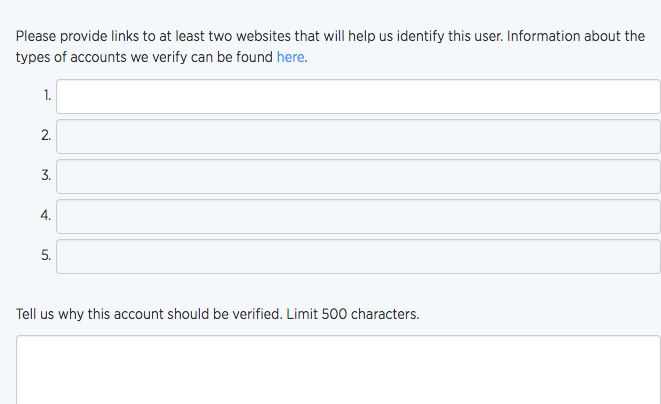
Once you are happy with what you are submitting, click “next”. You will now need to review everything you have written, and submit the request.
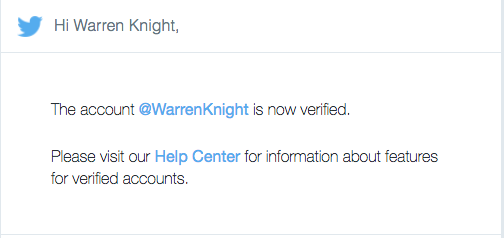
Upon getting rejected, you will have to wait another 30 days before you can re-submit so make sure that the content you are giving to Twitter will give them all of the validation they need to hand you that coveted blue tick. If you do get verified, you will know because the @verified Twitter account will follow you, and you will receive an email from Twitter’s support team.
Here are 5 tips to help you get verified on Twitter:
1. Post Regularly
Twitter will take into consideration how active you are on Twitter when looking at your verification submission. They will look at whether you are posting regular content and getting engaged via the @mentions, so make sure that the days leading up to applying, and for two weeks after that you are engaging daily.
2. Use Your Job Title In Your Bio
Think about how you can use your title as a way to sell yourself to Twitter. If you started a company, say that you are the founder or creator. If you write content for various outlets, say which ones, and also use their @ symbols in your Twitter bio.
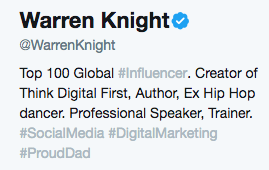
3. Pick Your Cover Photo Wisely
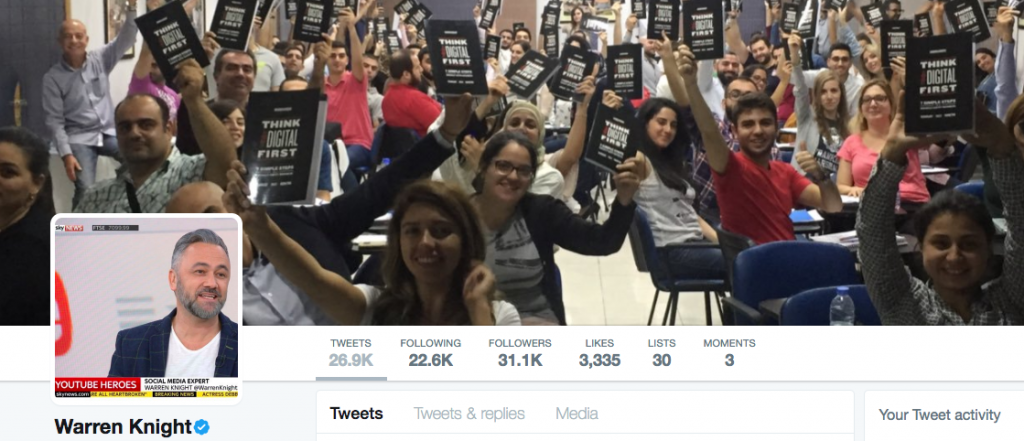
Use a cover photo that is more than just a quote or a nice background. Use a cover photo that is powerful, and depicts exactly what you do as a business. I use a picture of me speaking on stage because this gives me the influence I need to get the blue tick.
4. Use Your Exact Location
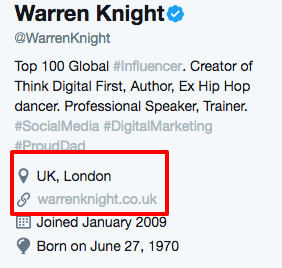
Twitter will be looking at your location as a way to pinpoint your influence. Saying “worldwide” will not work for you, unless you are an international traveller. Get specific. If you are based in London, say London and if you are based in Kent, say Kent. This, paired with your header image and job title is what will visualise your authority.
5. Choose A Variety Of Different Links
When submitting your website links, think about more than just the websites you run. Think about major publications you have written for, or press that you have received. Also consider any websites that talk about an award you are nominated for, or an event you are speaking at.
I hope that after reading this article, you will be able to get verified as a speaker on Twitter, just like I have.

